How to use Benchling for your teaching lab!
Thousands of scientists from leading academic labs and biopharmaceutical companies use Benchling for their research, but did you know that Benchling is also an educational tool for high school and college teaching labs?
To get you started, take a peek at these four sample protocols tailored for teaching labs:
Cut & Paste Cloning (Designed by Dr. Karmella Haynes at Arizona State University)
Type IIS Assembly (Designed by Dr. Karmella Haynes at Arizona State University)
Gene knockout with CRISPR/Cas9 (Adapted for an advanced biology course)
PCR Amplification (Adapted for an introductory biology course)
Sound like something you could use? Let's get your class set up (but first, make sure you've created an account)!
How do I set up my class?
To centralize all of your class materials, you should create an organization for your class. This will allow your students to access the notes, protocols, and files that you share with the organization. You can then invite your students to join the organization by entering their email addresses.
Create an organization for your class by clicking on your profile icon at the bottom left of your screen, and then clicking Join Organization. Type in your class's name (e.g. Biology Lab F16) and then click Create One Now!
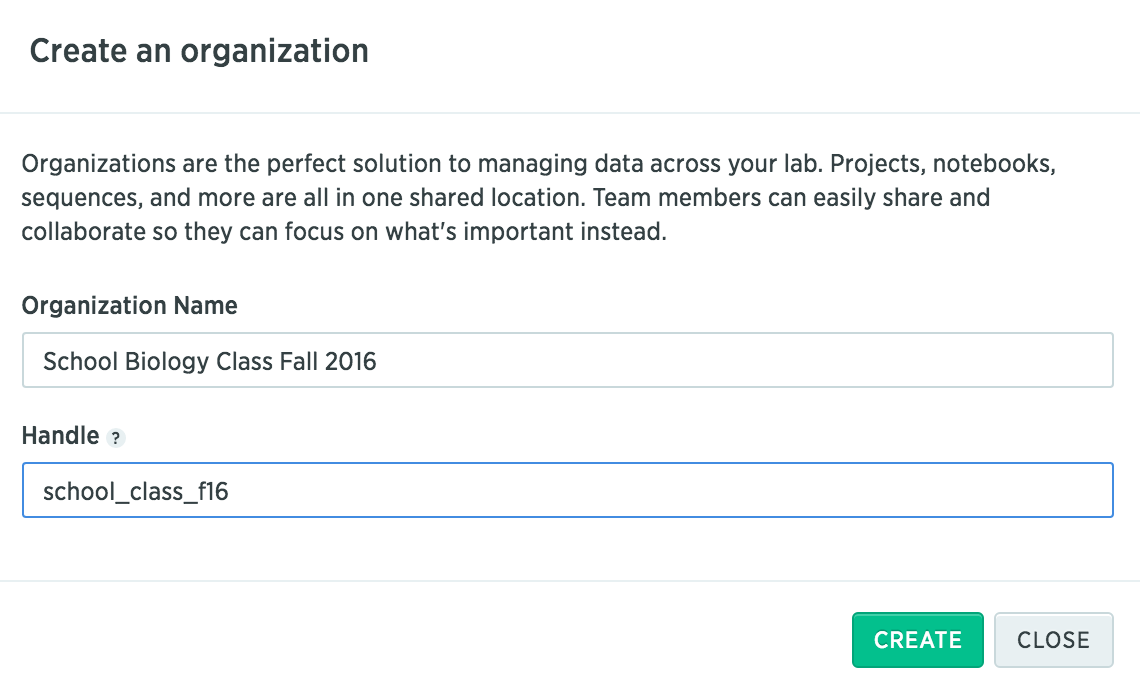
Give your organization a name and a handle (similar to a username) and click Create.
Invite members of the class to the organization by entering their email addresses. If they don't have a Benchling account, this will send them an invite and they can sign up in a few minutes. If they do have an account, they will be invited to join the organization.
How do I share files with my class?
After you've created an organization for your class, you can share notes, protocols, sequences, proteins, and other material with your students. By giving students read-only permission, you can be sure that the master copy of these items won't be affected.
Upload all your sequences and other files into a project on your personal account.
Go to the settings in this project folder by right-clicking the project, and then clicking Settings. Add the organization as a collaborator using the search bar. Give the organization Read permission. This will make sure that your students can't make changes to the project's contents.
When students need to work on a plasmid or protocol, they can create a duplicate by using the Duplicate button at the top right, and then saving it to their personal project folder. Now, when they make changes to the item, it will not affect the master copy shared with the organization.
How do I check and grade my students' notebooks?
Have your students go to the settings of their project folder (right-click, then click Settings), and add you as a collaborator. Make sure that they give you Write access to the folder so that you can make comments on their notebooks for grading!
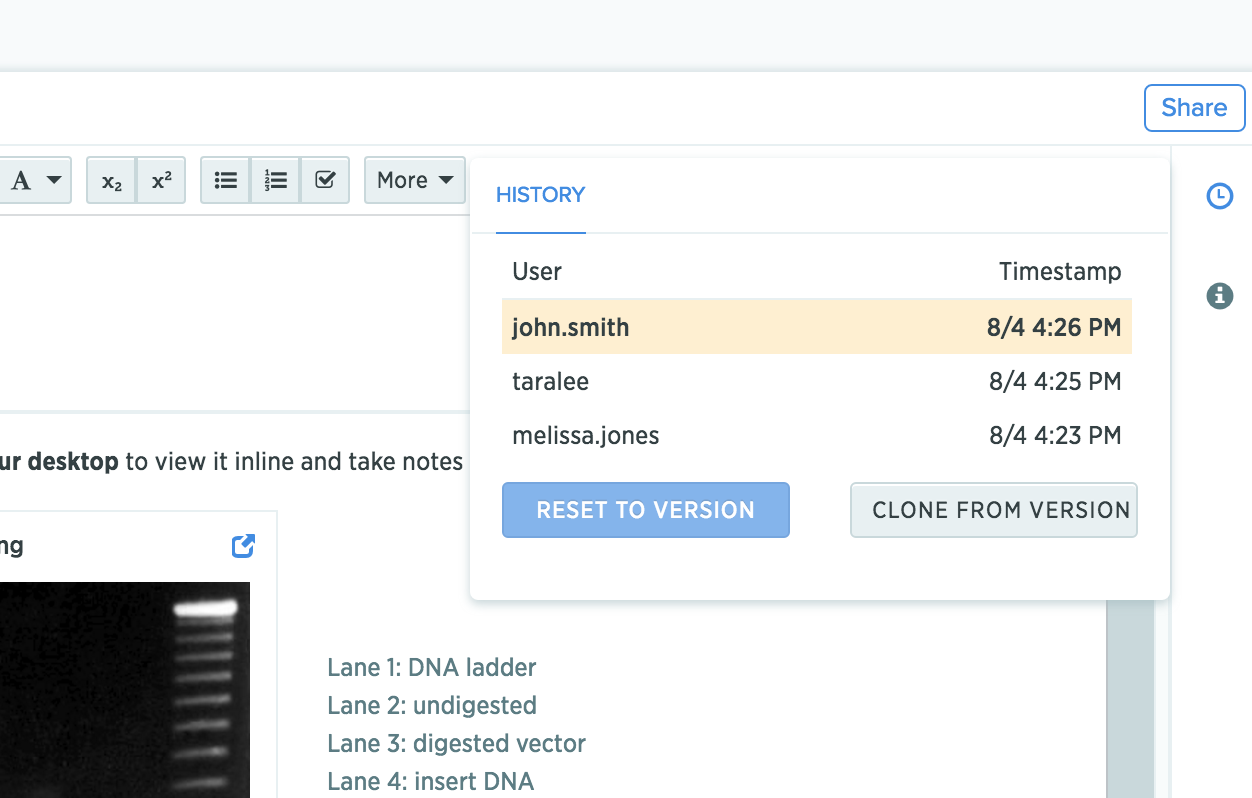
When you access a student's notebook, you can click on the History tab on the right sidebar. This will show you the version history of the notebook entry, and you can check who made what changes, and when these changes were made. You can use this panel to click through the different versions of the entry.
Use a different font color to make comments on your students' notebook entries by going to the text navigational bar, and clicking on the A icon.
What kind of lab modules can I design with Benchling?
Take a look at our tutorials for a list of modules that you can design! Here's just a sample:
Golden Gate Assembly
Gibson Assembly
Digest and ligate
Primer design
Virtual digests
Virtual PCR
CRISPR guide RNA design
Have more questions? Feel free to shoot us an email at hello@benchling.com
