Primer Design
Download "Primer Design" Ebook
Primer Design for PCR
The polymerase chain reaction (PCR) is one of the most important methods in molecular biology. Millions or billions of copies of a selected gene or specific DNA fragment can be created in a few hours from a small sample and simple ingredients. The is known as PCR amplification, or gene amplification. These millions or billions of DNA fragments are called PCR products and can be used in various ways post-amplification. If you need an in-depth reminder on how PCR works, please see this video review.
Main Components of PCR
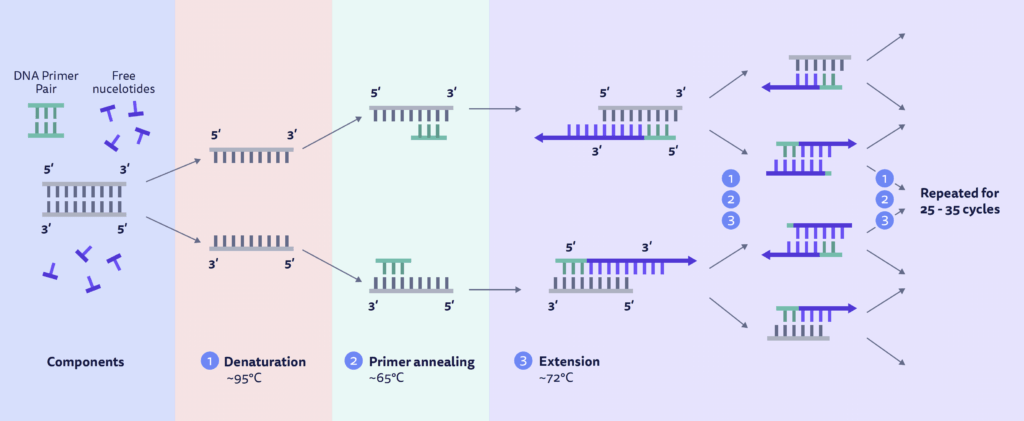
The main components of PCR are dsDNA, free nucleotides, a custom designed PCR primer pair, a heat stable Taq polymerase, and a thermocycler. A typical PCR reaction involves mixing these ingredients in a test tube with buffers and putting them through repeated cycles of heating and cooling with a thermocycler.
Denaturing (95℃): heating separates, or denatures, dsDNA into ssDNA.
Annealing (55 – 65℃): cooling allows primers to bind to the complementary sequence on the single-stranded DNA template, known as primer annealing.
Extension (72℃): raising the temperature slightly allows Taq polymerase to bind to the 3’ primer end and begin synthesizing new strands of DNA, known as primer extension.
These steps are repeated for 25-35 cycles. Every new DNA that is synthesized from the round before can serve as a template for the next round, creating exponential growth of the target DNA. If a high quality, purified DNA template was used and there were no issues with PCR reaction, the target region can go from a single template to several copies to upwards of billions.
Benefits of Good Primer Design for PCR
Designing primers for PCR is essential for successful PCR reactions and initiating DNA amplification. PCR primers must be custom designed to be complementary to the template region of DNA and must code for only the specific upstream and downstream DNA sites of the sequence being amplified. Therefore, it’s key that sufficient sequence information is known of the template DNA before undertaking primer design. Using in silico molecular biology tools, as discussed below, is a great way to understand the target sequence you are working with.
Best Practices for PCR Primer Design
In order to achieve successful DNA amplification, it’s imperative to understand how to design a primer and start off with the right primer pair. Here are some primer tips and characteristics you should consider when designing primers.
1. Primer Length
The optimal primer length is 18 – 25 bp. The primer should be short enough to bind easily during the annealing step, but not too short as short primers can result in nonspecific binding and thus inaccurate PCR products. The primer should be long enough for adequate specificity, but not longer than >30 bp as that may slow down the hybridization rate. Primer length and composition also directly affects primer melting and annealing temperatures.
2. Primer Melting Temperature (Tm)
Primer melting temperature is the temperature at which one half of the primer oligonucleotide duplex (the fragment section where the primer and template have bound) is single-stranded and the other half is double-stranded, or rather, the primer is about 50% bound to its complementary strand.
Optimal primer pair melting temperatures are between 50℃ to 60℃, and within 5℃ of each other. Primer pairs should have similar melting temperatures since annealing during PCR occurs for both strands simultaneously. Mishybridization may occur if the melting temperature of each primer is too high or low relative to the annealing temperature for the reaction. If too low, the formation of undesired, non-specific duplexes or intramolecular hairpins will occur, or the primers may not anneal to the template strand at all. If too high, there may be secondary annealing. A primer melting temperature calculator is found inside of Benchling using your choice of either two algorithms: Saint Lucia of Modified Breslauer.
Primers with higher G/C content will exhibit higher melting temperatures because G-C hydrogen bonds are harder to break than A-T hydrogen bonds, thus requiring more energy (a higher temperature) to melt. If the melting temperature of your primer is very low, try to use a G-C heavy primer or extend the length of the primer slightly.
3. Primer Annealing Temperature (Ta)
You must take Tm directly into consideration when deciding on annealing temperature. The formula to calculate annealing temperature is: Ta = 0.3 x Tm(primer) + 0.7 Tm(product) – 14.9.
Tm(primer) = melting temperature of the least stable primer-template pair
Tm(product) = melting temperature of the PCR product
Optimal annealing temperature is discovered empirically, but generally it is less than the primer melting temperature (Tm) by about 5℃ – 10℃. If primer annealing temperature is too high it’s likely the primers will not sufficiently bind, resulting in little to zero amplicons. If primer annealing temperature is too low, primers may begin forming hairpins (discussed more below) or binding to regions outside of the target sequence, leading to nonspecific, inaccurate PCR products.
One common way to find the initial optimal annealing temperature is to perform a temperature gradient PCR, or thermal gradient PCR, starting at about 5℃ below the lowest melting temperature of the primer pair.
4. Primer GC Content and GC Clamp
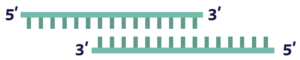
Primers are for PCR and sequencing should have GC content between 40 – 60%, with the 3’ end of the primer ending C or G to promote binding by DNA polymerase. In the last 5 bases at the 3’ end, there should be at least 2 G or C bases — this is known as a GC Clamp. G-C bp’s have stronger hydrogen bonds compared to A-T bp’s (3 hydrogen bonds vs 2), and help with the stability of the primer, and improve specificity of primer binding.
5. Set Restriction Enzyme Cut Sites
If using restriction enzyme cut sites in your primer, add 3 to 5 bases to the 5’ end of the cut site. This is known as the leader sequence and allows for more efficient enzyme cutting. You can easily find restriction enzyme cut sites via Benchling using criteria such as enzyme names or number of cut sites.
6. End Stability
Primer end stability is the maximum ΔG value of the five bases from the 3’ end of the primer, or the maximum ΔG value of where the primer should bind. A stable 3’ end (a more negative ΔG) will help reduce false priming. Read more about Gibbs Free Energy (ΔG) below.
What to Avoid When Designing Primers for PCR
In order to achieve successful DNA amplification, it’s imperative to understand how to design a primer and start off with the right primer pair. Here are some primer tips and characteristics you should consider when designing primers.
1. Repeats/Runs
Avoid runs of four or more of a single base (e.g., ACCCCC), or four or more dinucleotide repeats (e.g., ATATATATAT) as they will cause mispriming.
2. Cross homology
Cross homology is seen when the primer designed is homologous to other regions of the template strand, and the outcome is amplification of other genes outside the region of interest. Cross homology is generally avoided by sending the sequence of your designed primers to test its specificity against genetic databases. By sending primers through the NCBI BLAST software, as you easily can on Benchling, you can identify regions of significant cross homologies, helping you avoid them in primer design.
3. Template secondary structure
Similar to primer secondary structures, template secondary structures can be formed during or after the denaturation phase since ssDNA is generally unstable and can spontaneously fold into secondary structures. The stability of these template secondary structures depends on their Gibbs free energy and melting temperatures, similar to the stability of primer secondary structures. If a template secondary structure forms that is too stable (won’t unfold) even above the annealing temperatures of the primers, the primers will be unable to bind and PCR amplification will be significantly affected. Template secondary structure is especially important to consider in qPCR primer design.
4. Primer Secondary Structure and Gibbs Free Energy
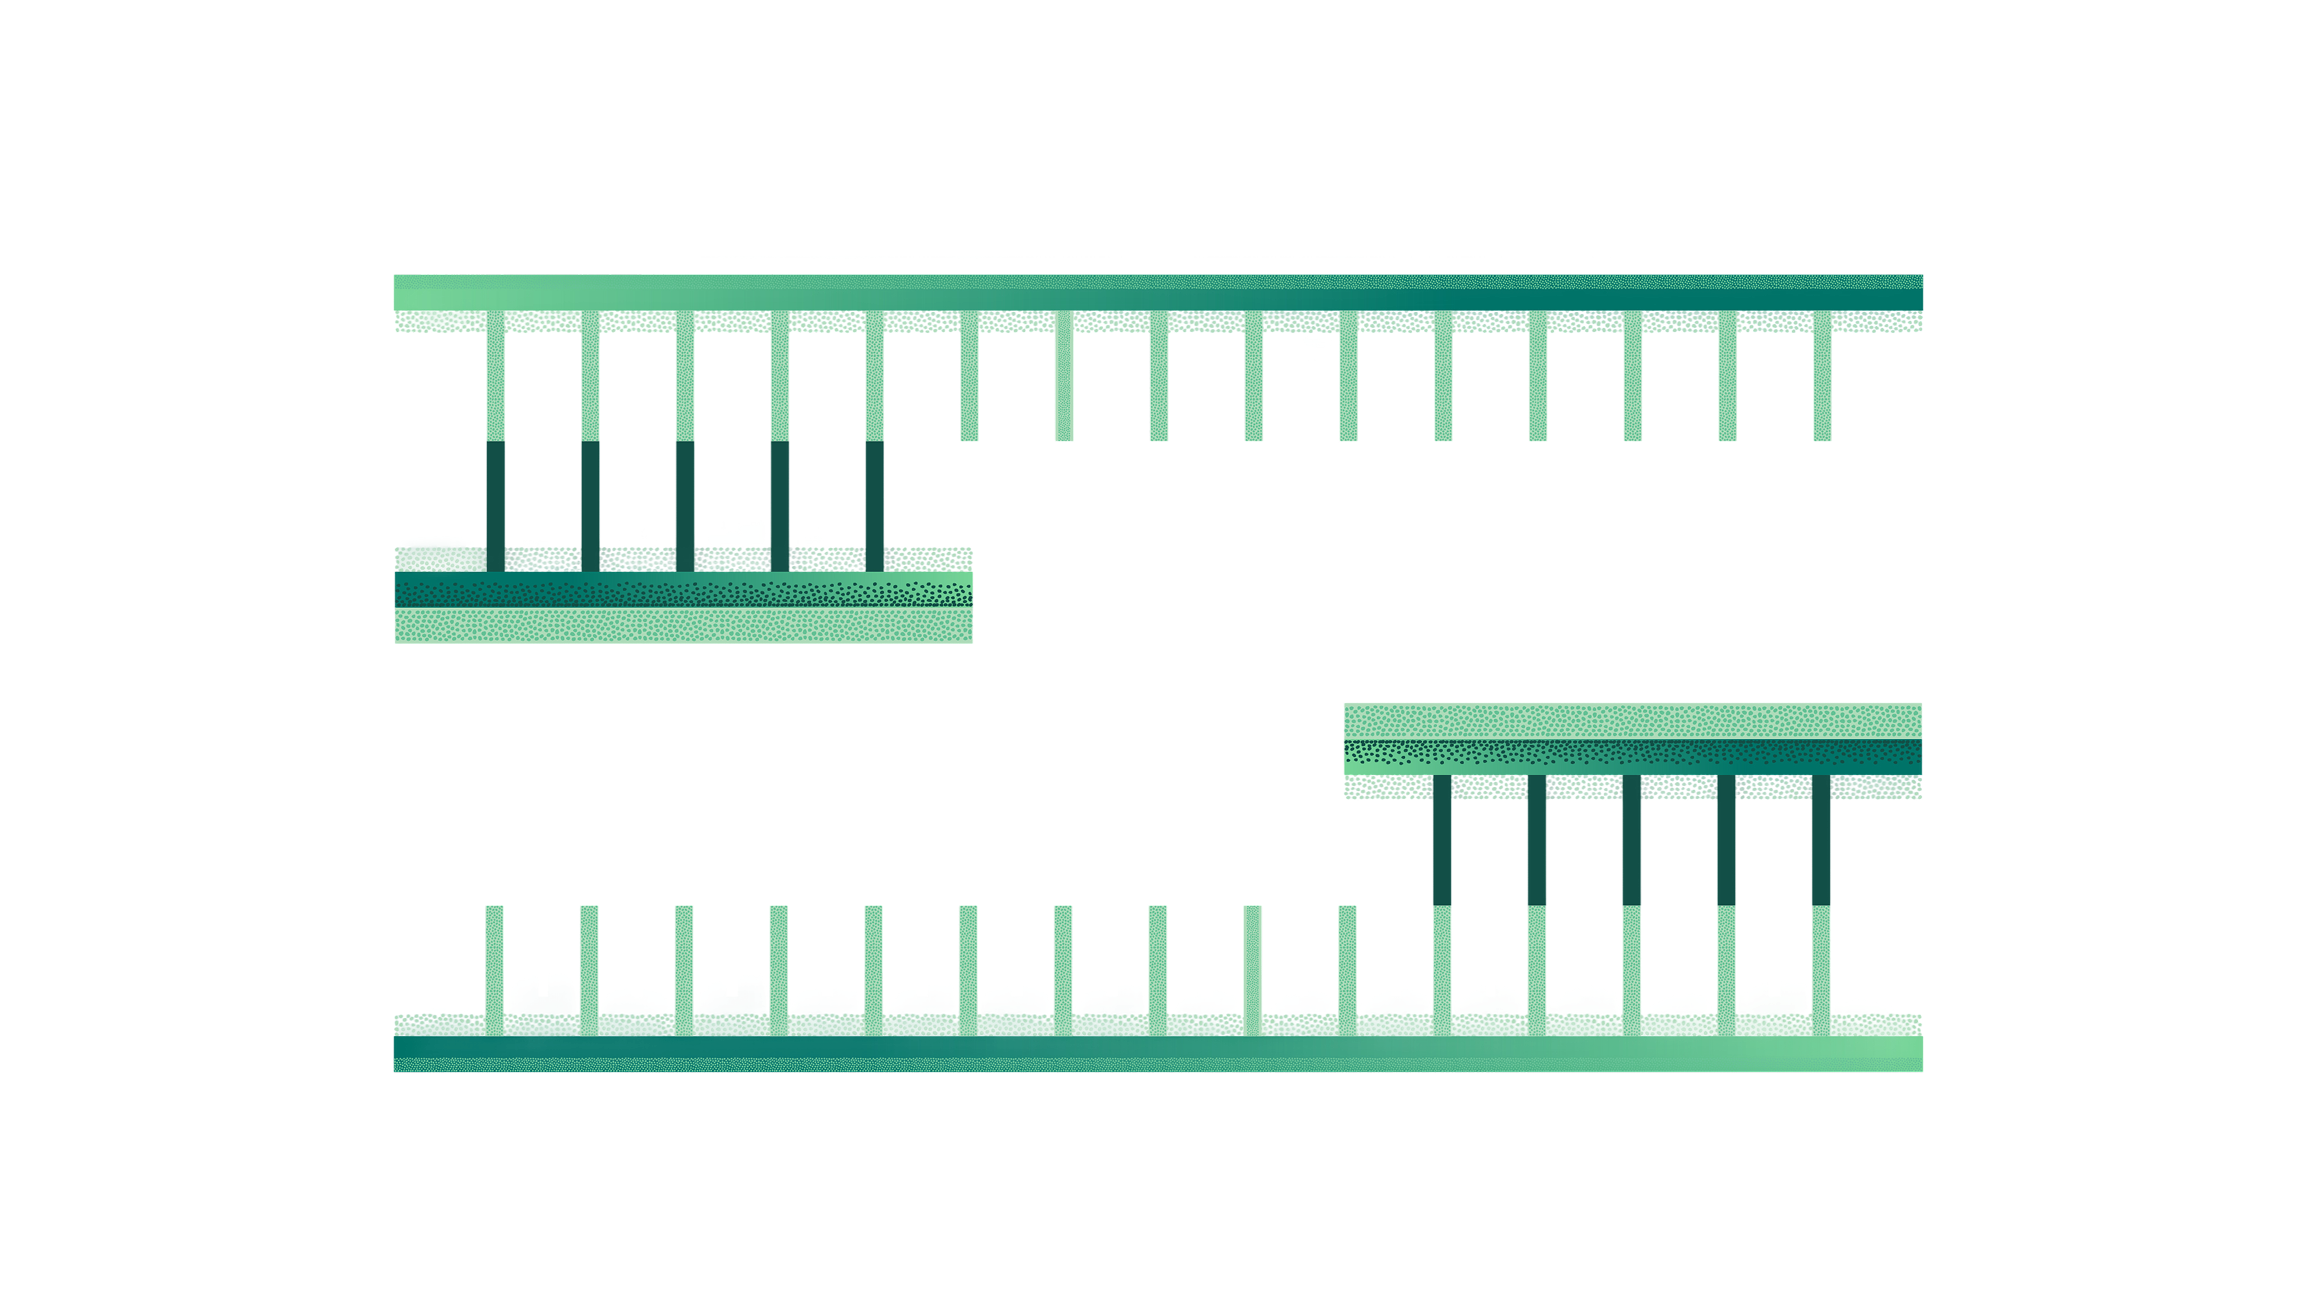
Secondary structures are created when primers fold in on themselves or bind to each other. Often called primer dimers, these “bad” primers interfere with primer annealing to the template strand and/or reduce the availability of “good” primers in the PCR reaction, and ultimately will affect the yield of high quality PCR products. These are usually caused by intra- or inter-primer homology:
Intra-primer homology: a region of 3 or more bases that are complementary to another region within the same primer, causing intramolecular bonding.
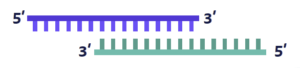
Inter-primer homology: forward and reverse primers that have complementary sequences, causing intermolecular bonding.
Primer dimer analysis should be performed before using primers in the lab, which includes visualizing secondary structures and determining the Gibbs free energy (ΔG) for each possible primer dimer. Both of these primer dimer checks can easily be performed in Benchling. In general, a dimer formed closer to the 3’ end is much more detrimental than a dimer formed near the 5’ end.
Gibbs free energy ΔG in primer design is the amount of energy needed for a primer to form a particular secondary structure with itself. In general, ΔG represents the spontaneity of a reaction when held at a constant temperature and pressure. Structures with a higher ΔG (greater than 0, or positive ΔG) require an input of energy (heat) to form, so there is a lower likelihood they will form spontaneously without extra energy. Secondary structures with a lower ΔG (negative ΔG) will happen easily and spontaneously without additional energy. Very negative ΔG numbers indicate there’s an affinity to form that structure and it will likely require a lot of heat to reverse the dimer back to linear form, thus more stable secondary structures (larger negative ΔG values) should be avoided.
Commonly observed primer dimer secondary structures and their ΔG values in kcal/mol include: Hairpins

Self-Dimers
Cross-Primers
Balance GC-rich and AT-rich domains to avoid secondary structures
Primer design tools like Benchling can also help detect secondary structures. Do not design primers that allow secondary structures to remain stable above the annealing temperatures; they will be unable to bind to the template strand and initiate DNA synthesis, and PCR product yield will be lowered. In other words, if the ΔG for a secondary structure is so negative (-9 kcal/mol for example), then even the heat of the annealing temperature will not be able to break the structure back into its original linear form, and it will not bind to the template strand during the annealing phase.
Powering breakthroughs for over 1,300 biotechnology companies, from startups to Fortune 500s
